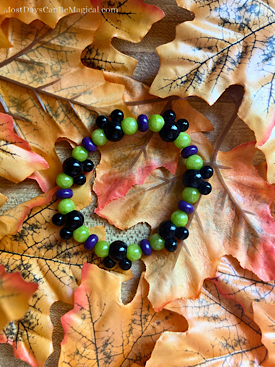
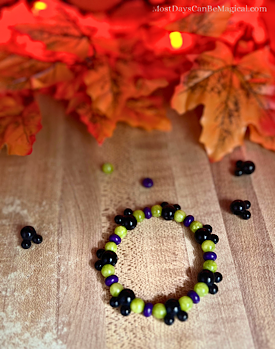
Make An Adorable Disney-Inspired Halloween Bracelet
Whether you are spending Halloween in your hometown this year, or you are getting to spend it at a “Not So Scary” party with a certain Mouse, these Disney-inspired Halloween Stretch Bracelets are the most perfect accessory! They are fun to make with family or friends, or even by yourself – throw on your favorite Disney playlist and start stringing.
I’ll show you what Disney-inspired beads that I used and where you can get supplies, but you can make these bracelets completely your own style – the creative possibilities are endless! (I am not affiliated with Etsy, but I frequently share links to fabulous things that I’ve found there. As an Amazon Associate I get a commission from qualifying purchases.)
Unfortunately, this year I won’t be able to make it down to Florida. Memories of past parties at Walt Disney World will have to hold me over for this year. I am determined however, to incorporate as much Disney themed Halloween decor, recipes, activities, and movies into the season, and I am going to share every one of my ideas with you! I’ll also be releasing a “Magical Countdown to Halloween” calendar featuring a bunch of these Disney-inspired ideas to help countdown October right up to Halloween – bracelet making is one of the spooky activities included in that calendar.
Supplies:
- Stretch Magic 0.7 mm, 16.4 ft.
- Disney-inspired beads – I used these Mickey-shaped focal beads from Etsy – so cute! This seller, MadisonBeadshop, has a huge selection of Disney-inspired beads and Halloween beads.
- Assorted Filler Beads – I used these to space out the Mickey-shaped beads and add some color (see the Etsy link above for more bead choices or check out your local craft store.)
- Scissors
- Tape (optional)
Tips:
- I recommended the 0.7 m Stretch Magic – ensure that your bead holes will fit. (Stretch Magic comes in different thicknesses so you can get a thinner one if need be.)
- Make sure to get enough Stretch Magic for however many bracelets you plan on making. The roll that I recommended is 16.4 feet. You will likely use (on an average adult) 20″ or so per bracelet, less if you are making child-size bracelets.
- Get a shallow container or lid to contain the beads so that you can easily pick out what you want and they won’t roll off the table 🙂
- Lay out your design before you start stringing so you can tell if you like it or not 🙂
- Start stringing with a bead with the biggest hole – that way you can tuck your knot into the hole to hide it.
How-To:
- Wrap the Stretch Magic around your wrist, double that, add another 6-8″, then snip it. (I like to double the cord just to create a sturdier bracelet. The extra 6-8″ will give you enough to easily tie a knot. (It will end up being 3-4″ on each end since we are doubling the cord).
- Grab the piece of cord a few inches at a time and gently tug it to pre-stretch it out just a bit.
- Fold the piece of Stretch Magic in half. (Optional: put a piece of tape on the folded end so that your beads won’t slide off.)
- Start stringing the beads in your desired design. (I prefer to string starting with the loose ends, not the folded end, as I find it easier to get it through the bead holes without having to use a needle.)
- Once you’ve got your beads strung onto the cord, gently place it around your wrist (holding the end without the tape so that no beads fall off!) This is to make sure that you have enough, but not too many beads strung so that it will stay on you wrist nicely, without having to stretch it a lot to get it over your hand.
- One you are satisfied with your design, it’s time to tie it off. My favorite knot for bracelets is the surgeon’s knot. It starts off just like a regular knot but you will tuck the end through twice then pull it tight. Then repeat that. Snip the ends off and tuck the knot into the nearest bead.
Now you have a fabulous Disney-inspired Halloween accessory that you can wear or gift. I hope you had fun creating your magical bracelet and that you’ll try out some of my other activities, recipes, and ideas this Halloween.
Here are some suggestions for your next one 🙂
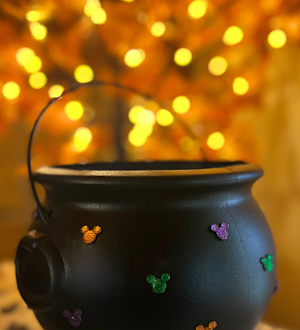
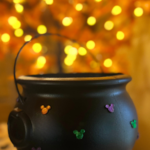
Make your own Disney-Inspired Halloween Cauldron.
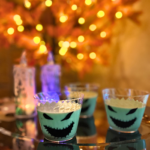
Have a themed movie night with these Oogie Boogie-inspired Pudding Cups.